It looks like fall will finally arrive in South Jersey tomorrow! WOOHOO!! I love the weather, recipes, clothing, colors...pretty much all of it. It just shouldn't be 84 degrees on the last day of September, but according to the thermometer I drove by earlier, that's what is was.
So, to celebrate the change of weather I will rise early and haul my canopy, table, shelves, quilts, bags, change and large thermos of coffee about 15 minutes down the road to Wenonah Park and set up for the first craft show of the season (with the help of my hardworking husband who is getting up early on a much needed day off just to be my roadie). Chances are I won't be posting tomorrow, but stop by Sunday for some pictures from the show and the word on how it went.
And don't forget--BIG NEWS and the kick-off of my first give-away on Monday! Don't miss it!

Friday, September 30, 2011
Thursday, September 29, 2011
The Human Pinball (can you relate?)
What a busy day yesterday was! My minivan has 110,000+ miles on it and a permanent impression of my backside in the driver's seat. I felt like a pinball by the time I went to bed last night, but there was so much good stuff packed in to the day that I was a smiling pinball.
Bragging time: my day started off at my daughter's high school with a 7:00 breakfast in honor of those students who receive Student of the Month awards. She was nominated by her Latin teacher on behalf of the World Languages department and this is the 2nd time she has received the honor from that department having been nominated by her Spanish teacher in her freshman year. I'm so proud of all three of my children in so many ways. They are unique and special people that I'm honored to know. Maddy is such a bright, motivated and hardworking student. She ranks 7th in her class of almost 400, carries a massive courseload with four AP classes (her choice, not mine!) and a 4.0 GPA. It is my sincere hope that all of my blog friends stay healthy, but if you are in need of surgery 10 years or so from now, who knows? Maybe it will be my daughter performing it!
After that it was off to the orthodontist with my 14 year old son Kit where he spent a grueling hour in the chair getting his molars wrapped in metal and generally trying to imagine himself elsewhere. Last night was rough. Things are not right in there and he couldn't eat or talk for the wires jabbing into the inside of his cheeks. Guess where we're going this afternoon?
Yesterday was also "Lunch with a Friend" day at my youngest son Brett's school. He LOVES having mom bring him a special lunch (subway BLT and a cherry coke) and hang out with him in the cafeteria and I wouldn't miss it for the world, but we're barely 2 weeks out of summer vacation! I think it would have made a bit more sense to do it around February...
There's always some after school activity that has me driving back to the school to pick someone (usually Maddy) up, and yesterday was no exception. Of course, neither is today...
Then there was piano lessons last night. Are you getting what I mean by the pinball analogy?
Finally, I was able to sit down for our Wednesday night tradition: Comedy on ABC. Modern Family gets a lot of public attention and we love that show, but The Middle? That's pretty much us with a few variations, and it never fails to make me laugh HARD :) Sitting without a steering wheel in front of me allowed me to at last finish the quilt I've been working on--the one I featured in my How-To series. So I won't show you pictures of my daughter's breakfast, Kit's swollen and bleeding mouth, or Brett's luncheon, and I won't make you listen to piano, but here's a pic of the finished quilt:
 Like it?
Bragging time: my day started off at my daughter's high school with a 7:00 breakfast in honor of those students who receive Student of the Month awards. She was nominated by her Latin teacher on behalf of the World Languages department and this is the 2nd time she has received the honor from that department having been nominated by her Spanish teacher in her freshman year. I'm so proud of all three of my children in so many ways. They are unique and special people that I'm honored to know. Maddy is such a bright, motivated and hardworking student. She ranks 7th in her class of almost 400, carries a massive courseload with four AP classes (her choice, not mine!) and a 4.0 GPA. It is my sincere hope that all of my blog friends stay healthy, but if you are in need of surgery 10 years or so from now, who knows? Maybe it will be my daughter performing it!
After that it was off to the orthodontist with my 14 year old son Kit where he spent a grueling hour in the chair getting his molars wrapped in metal and generally trying to imagine himself elsewhere. Last night was rough. Things are not right in there and he couldn't eat or talk for the wires jabbing into the inside of his cheeks. Guess where we're going this afternoon?
Yesterday was also "Lunch with a Friend" day at my youngest son Brett's school. He LOVES having mom bring him a special lunch (subway BLT and a cherry coke) and hang out with him in the cafeteria and I wouldn't miss it for the world, but we're barely 2 weeks out of summer vacation! I think it would have made a bit more sense to do it around February...
There's always some after school activity that has me driving back to the school to pick someone (usually Maddy) up, and yesterday was no exception. Of course, neither is today...
Then there was piano lessons last night. Are you getting what I mean by the pinball analogy?
Finally, I was able to sit down for our Wednesday night tradition: Comedy on ABC. Modern Family gets a lot of public attention and we love that show, but The Middle? That's pretty much us with a few variations, and it never fails to make me laugh HARD :) Sitting without a steering wheel in front of me allowed me to at last finish the quilt I've been working on--the one I featured in my How-To series. So I won't show you pictures of my daughter's breakfast, Kit's swollen and bleeding mouth, or Brett's luncheon, and I won't make you listen to piano, but here's a pic of the finished quilt:

Tuesday, September 27, 2011
Treasury Tuesday
If you're coming to this post from someplace other than Etsy, or aren't deeply entrenched in the world of retail sales, you might be a bit annoyed by the Christmas theme of this treasury. I mean, we haven't even made it to Columbus Day yet! But if you are like me you are busily building your Christmas/Holiday shop and this is where your brain is these days...
My 11-yr-old son Brett is already waking up every morning looking for snow on the ground and talking about Christmas (he made his list in August when we were on vacation, but in his defense it was pretty cold up in the Colorado high country). Take a few minutes to embrace the wonder and excitement of a child and look through the handcrafted items featured below. If you see something you love, just click on it and you will be taken to the site where it's available for purchase.
Enjoy!
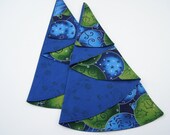
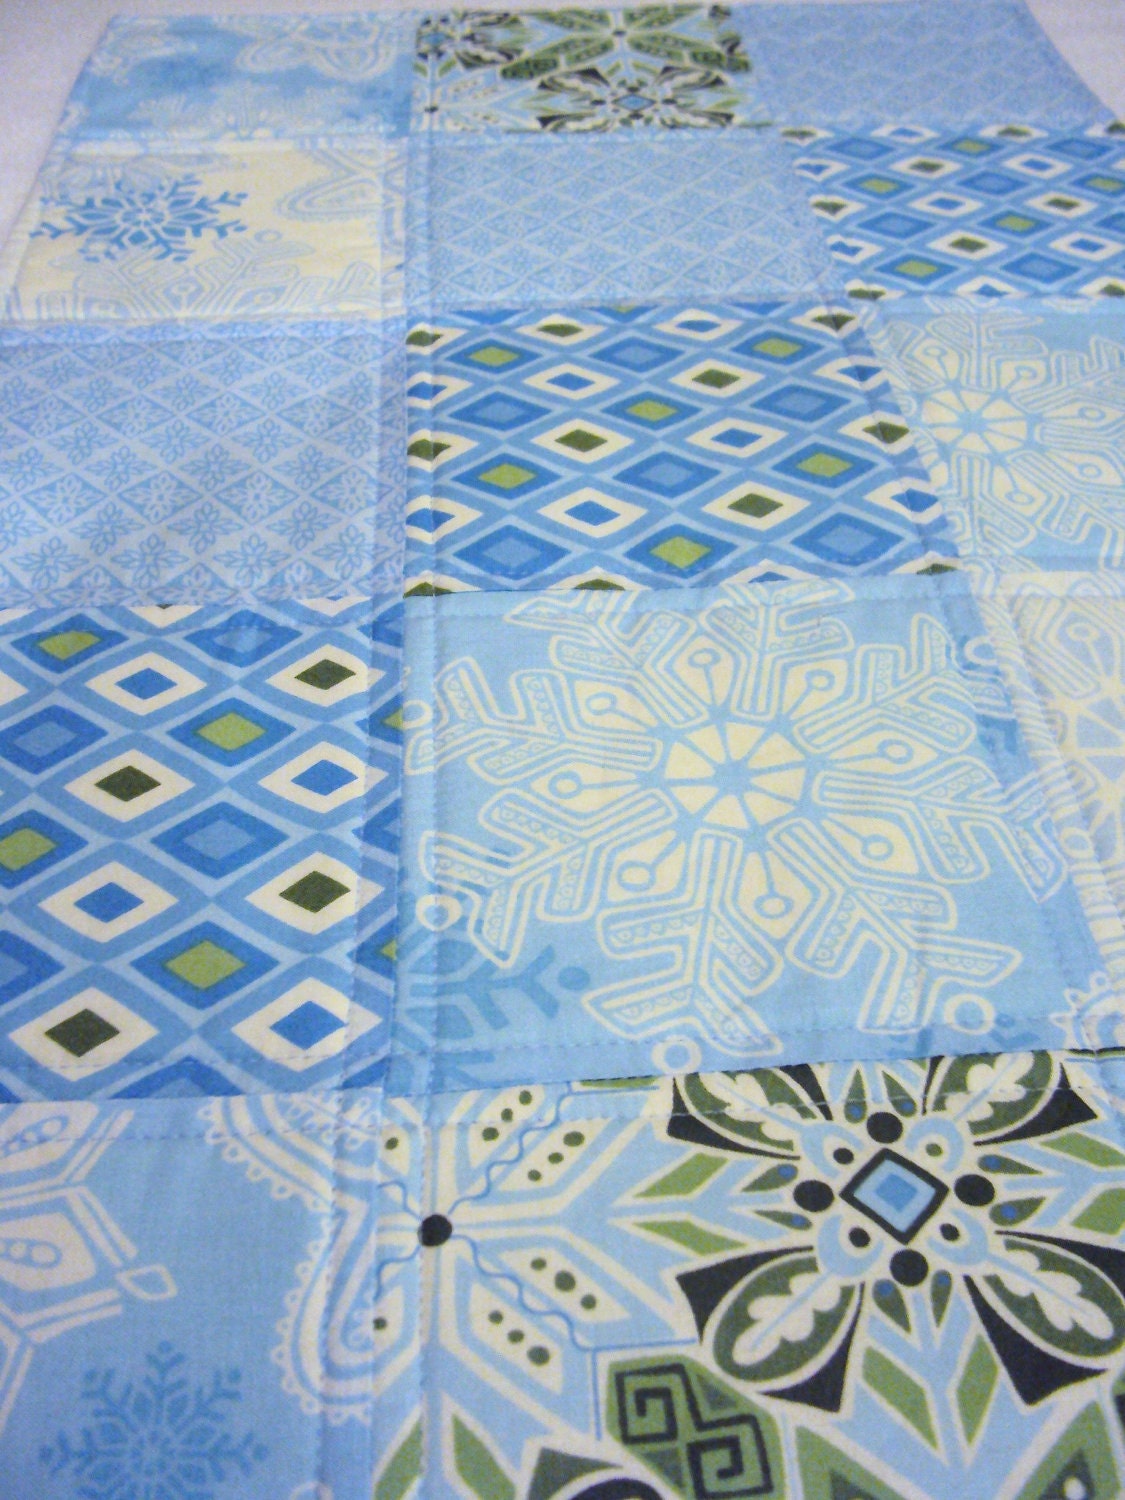
'Blue Christmas 247 Around the Treland' by ScrappyTudeStudios
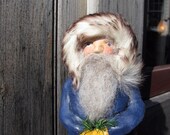 Paper Mache Santa On A ... $150.00 |
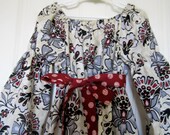 Holiday Peasant Dress i... $48.00 |
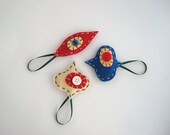 Felt Christmas ornament... $13.00 |
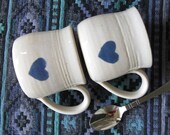 Two Mugs Handmade Cups ... $40.00 |
 Snow Flake Bow $5.95 |
 Blue Christmas, Cloth C... $7.99 |
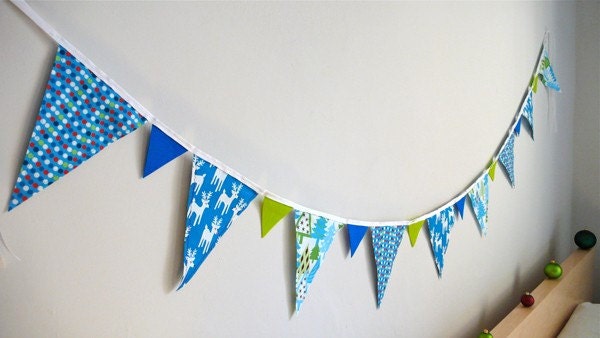 Blue Christmas Bunting ... $34.00 |
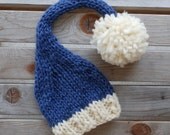 Blue Christmas Santa Ha... $22.00 |
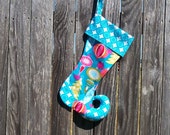 Blue Christmas stocking... $49.00 |
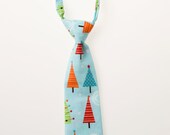 Toddler Necktie - Light... $15.00 |
 True Blue Christmas Wre... $40.00 |
 the blue christmas coas... $15.00 |
 christmas cards - blue ... $15.00 |
 Blue Christmas Holiday ... $24.99 |
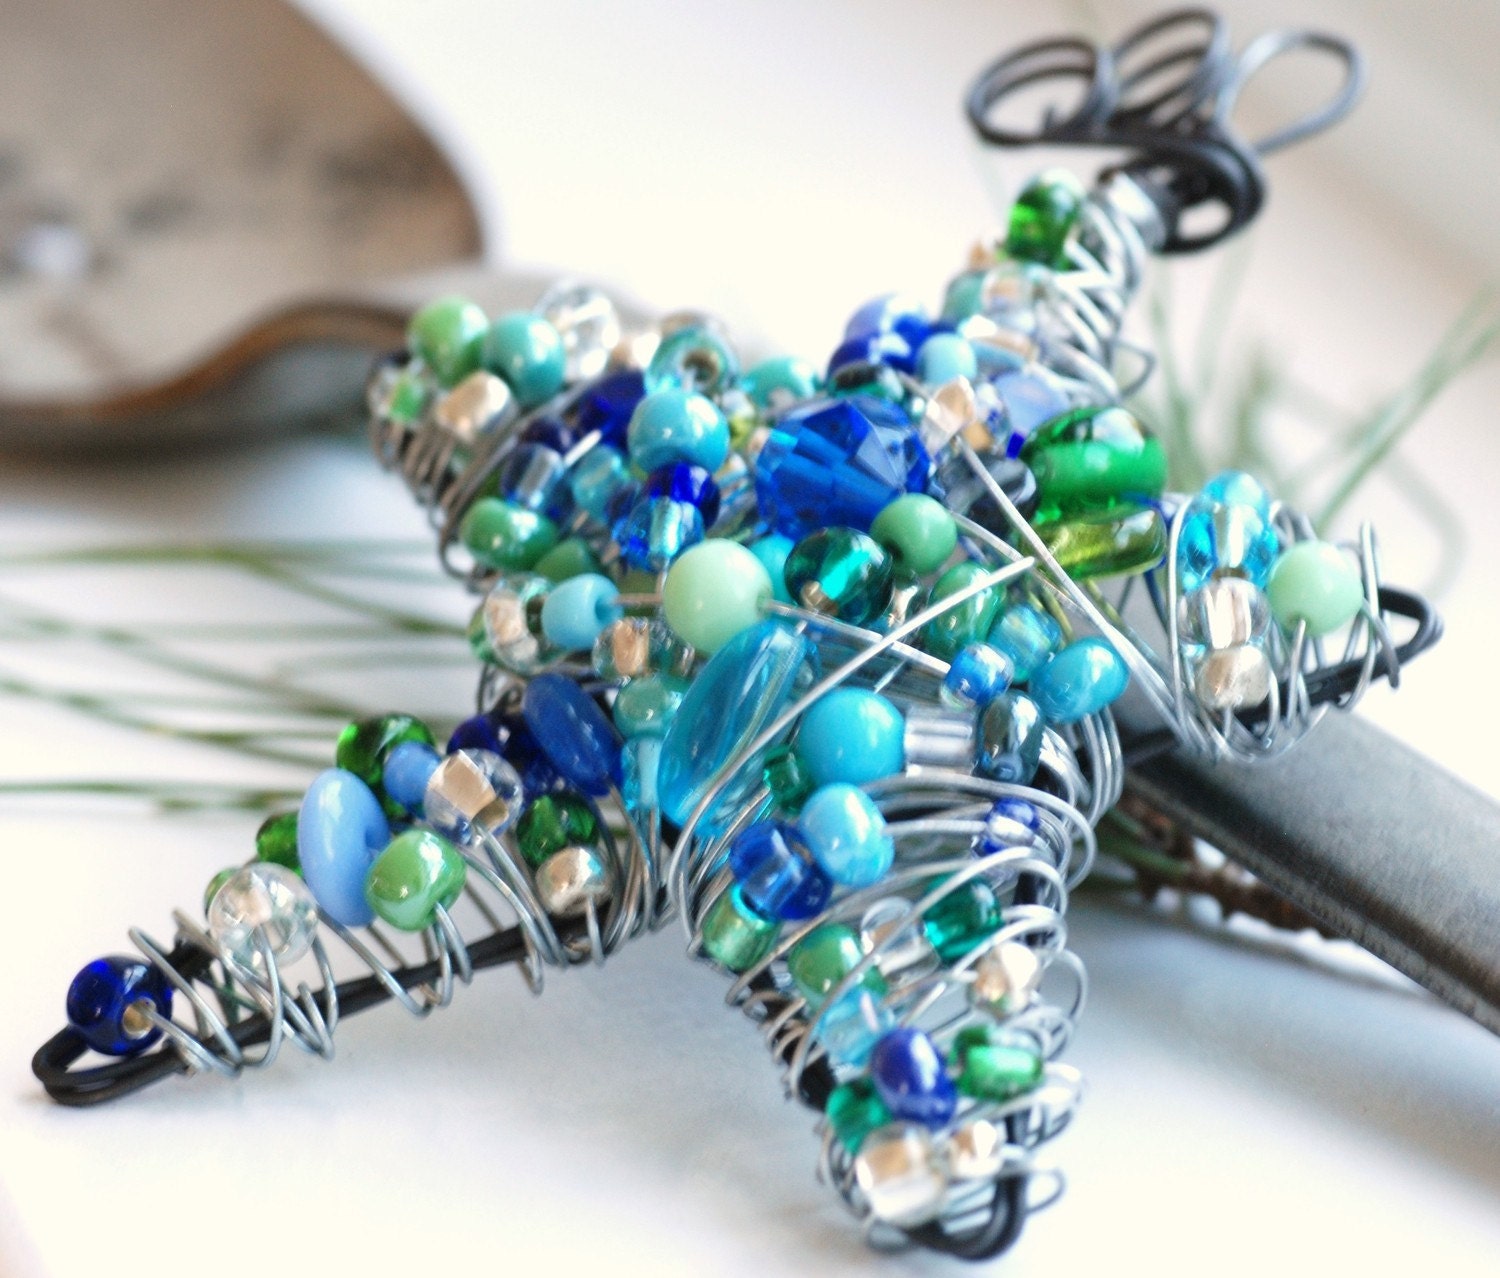 Wire Wrapped Star Beade... $18.00 |
 Metallic Silver and Blu... $120.00 |
Monday, September 26, 2011
WebSite Story
My brother posted this on facebook earlier and I couldn't resist sharing it with my blogger friends...
Sexy French Fold Binding, Part Trois (Finally!)
It's been a busy few days away from this series prepping for the craft show that didn't happen (yet), having fun with my BFF and helping my three kiddoes through the ups-and-downs of the academic and social lives of the American teen (and pre-teen), but I'm back and ready to wrap it up. If you're just joining me you may want to read the first two posts: How-To & Sexy French Fold Binding, Part 2. So far, we've calculated how much fabric we need to make the binding using as little actual math as possible and we've made the continuous binding strip. Now it's time to attach it to the quilt.
 In preparation for attaching the binding I always trim away the excess fabric and batting. I know a lot of quilters do this after machining the binding to the front of the quilt, but I have a few reasons for doing this first. If you've ever basted a quilt with needle and thread, or even pins, you know what a tedious task it can be. If, however, you've discovered the joys of spray basting as I have, one of the downsides is that any batting that sticks out beyond the quilt top (and there should always be some) will be sticky, tacky and feel like it spent a few hours under the high chair of snacking toddler. Not something I want to be handling while I'm quilting. The other downside I've experienced is what can happen if you are a little overzealous in your trimming with the binding attached. More than once I've been sitting happily hand stitching the binding to the back of the quilt and gotten to a corner only to discover that I had actually cut the binding. I won't share my verbal response to this here (especially the second time it happened--once should have been enough), but suffice it to say this is not something I ever wish to repeat.
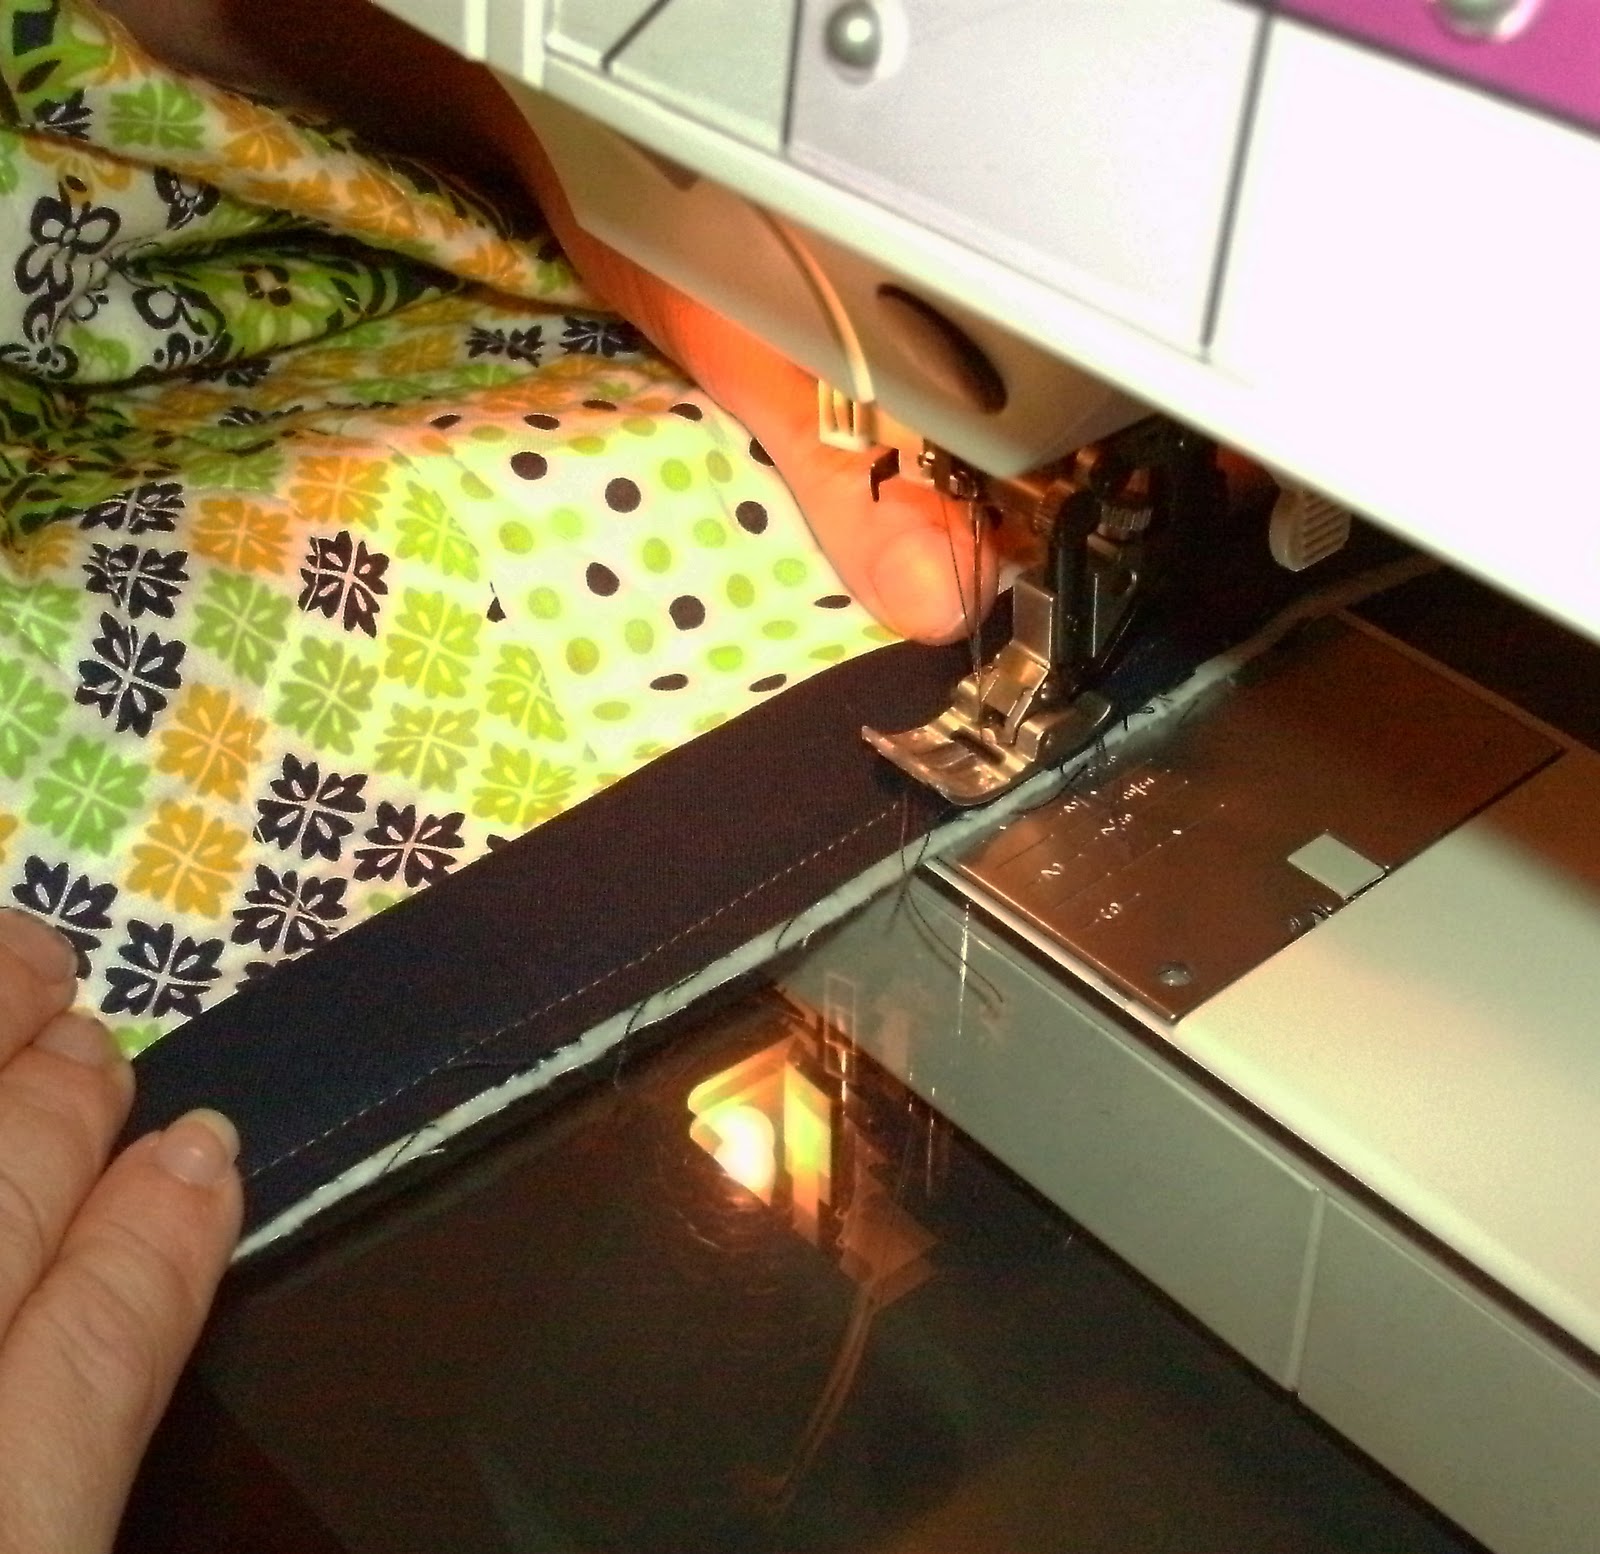
 Now it's time to take your quilt and binding to the sewing machine. Remember when you ironed the first end of the binding over about an inch before pressing the whole thing in half? That's the end you start with. As you can see in the picture above, you starting stitching an inch or so from the end. This will be your ending point once you've made it around the quilt, so you don't need to back stitch to secure your thread. Simply align the raw edge of the folded binding with the raw edge of the quilt and stitch all the way around using an approximately 5/8" seam.
The only somewhat complicated part of attaching the binding is the corners. I will do my best to explain here, but please use the comments section below to ask questions if this is confusing! (And keep playing the Grace Potter selection I've added to my playlist--it might not help with the corners but it will probably make you feel better...)

 Before beginning to stitch to again, fold the binding back down over itself with raw edges of quilt and binding aligned again.
 Drop the needle down about one inch from the corner of the quilt (remember to use 5/8" seam here) and reverse stitch, stopping about 1/4" before the end of the quilt. Now start sewing as usual along the binding until you reach the next corner and repeat the process.
 When you have made it all the way around the quilt and reached your starting point (hopefully without running out of binding!) you will cut the excess binding off, leaving enough to insert into the folded over binding that you began with that is not yet stitched down (see above).
 Insert the end of the binding into the beginning piece. I find it's helpful to use a stiletto or closed scissors to slide inside the two pieces of binding to get them to fit smoothly together. (Please excuse the fuzziness of this photo. It was physically impossible for me to take this picture myself--believe me, I tried--and my photographer was anxious to get back to her AP Chem homework.)
 Now continue sewing over both pieces of binding overlapping the stitches you started with by 4 or 5 stitches, reverse stitch to secure, and cut your threads.
All that's left now is a few hours of hand stitching (which I personally enjoy) the folded edge of the binding to the back of the quilt. If you have questions about that, leave me a comment below & I'd be happy to answer them.
Congratulations! You've made it all the way through this how-to! If you're still with me, there's a reward...Stop by Monday, 10/3 when I make a big announcement and kick off a GIVE AWAY to celebrate! And tune in later this week when I'll post a pic of the finished quilt from this tutorial, which will be available in my shop.


The only somewhat complicated part of attaching the binding is the corners. I will do my best to explain here, but please use the comments section below to ask questions if this is confusing! (And keep playing the Grace Potter selection I've added to my playlist--it might not help with the corners but it will probably make you feel better...)

When you are about a 1/4" from the corner of the quilt take 3 or 4 stitches in reverse, cut your threads and rotate the quilt so that the next side is ready to feed under the needle. Fold the binding straight up and away from you so that the raw edge of the quilt appears to continue straight into the raw edge of the binding as shown in the photo above.


All that's left now is a few hours of hand stitching (which I personally enjoy) the folded edge of the binding to the back of the quilt. If you have questions about that, leave me a comment below & I'd be happy to answer them.
Congratulations! You've made it all the way through this how-to! If you're still with me, there's a reward...Stop by Monday, 10/3 when I make a big announcement and kick off a GIVE AWAY to celebrate! And tune in later this week when I'll post a pic of the finished quilt from this tutorial, which will be available in my shop.
Saturday, September 24, 2011
Rainy Day in South Jersey
After putting the pedal to the metal all week and still not getting everything done in preparation for today's craft show, it was rained out. It is now scheduled for next Saturday, 10/1. I am thrilled to have an extra week to get ready but super-sad that my BFF won't be able to stay and do it with me. I'll be extra lonely, so COME SEE ME Jersey folk!
Harvest Craft Fair, Saturday, October 1, 2011, 9:00-4:00, Wenonah Park, Wenonah, NJ
Harvest Craft Fair, Saturday, October 1, 2011, 9:00-4:00, Wenonah Park, Wenonah, NJ
Thursday, September 22, 2011
Update
I thought the fact that I disappeared in the midst of a how to series deserved a quick explanation...As I mentioned in my Dear Blog post I have a craft show rapidly approaching--for those of you in my area, stop by Wenonah Park on Saturday before 4:00 to say hi! Couple the preparations for that with the happy fact that my BFF rolled into town Tuesday night (she's got the booth next to mine at the craft show)and we're playing working hard getting ready for the show. I had every intention of continuing to blog this week, but am facing reality and admitting that it's much more reality-based to tell myself (and you) that I will be back Monday. I'll finish up my how to series for those of you who are hanging on the edge of your seats, dedicate a post to the show with pics and all, and maybe throw another fun treasury at you.
So, until Monday...Cheers!
So, until Monday...Cheers!
Tuesday, September 20, 2011
Sexy French Fold Binding, Part 2
Yesterday I began a How To series on making french fold binding to finish a quilt. It was all about how to calculate how much fabric you will need for the binding and is geared toward the mathematically challenge (aka, my soulmates). If you didn't get a chance to read it I recommend you head back to it before digging in to the following instructions.
How To Make Your Sexy French Fold Quilt Binding (everybody say: ooo-la-la)--with accompanying soundtrack by Grace Potter and the Nocturnals (see playlist in sidebar):
1) The first step to making any component of a quilt is to prewash and dry the fabric. It is important to minimize shrinkage and color bleed after affixing the binding to the quilt.
2) As always, you should iron your fabric before cutting it.


 4) The next step is mark your 2 1/2" strips in preparation for piecing them together. I could go all geometry on you here (well, actually I probably couldn't having barely passed the class about 30 years ago) but let's not make this harder than it needs to be. Quilting is usually a very precise art, but in this case it's ok to eyeball it. Put one strip on top of the other, right sides together with about 3/4" of excess fabric for each strip. Place a ruler on the top strip connecting the two points where the strips intersect as shown in the photo above, and draw a line. This will be your stitching line.


 7) Once you have all your strips joined together with all the seams on the same side it's back to the ironing board where you will fold over about 1" of one end of the strip and press with hot iron (being careful to first remove your fingers). This will be where you start sewing the binding to the quilt.

 Don't worry if you don't have as many freckles as I do. I'm pretty sure it will still work, although I've never tried this without the freckles so I'm not making any guarantees...
That's it for today. Come back tomorrow when I show you how to attach the binding to the quilt.
Cheers!
Nancy
How To Make Your Sexy French Fold Quilt Binding (everybody say: ooo-la-la)--with accompanying soundtrack by Grace Potter and the Nocturnals (see playlist in sidebar):
1) The first step to making any component of a quilt is to prewash and dry the fabric. It is important to minimize shrinkage and color bleed after affixing the binding to the quilt.
2) As always, you should iron your fabric before cutting it.

I have included this photo for those you who (like me)
would not otherwise use this mysterious appliance.
After ironing it is important for some of us to rest because the next part involves numbers and I don't want you to wear out too quickly. Depending on the time of day you may want to pour a cup of coffee, tea or Cabernet Sauvignon...

3) Fold your fabric in half with the selvage edges together and lay out flat on your cutting mat. (See that little yellow thing with the shiny round end? That's a rotary cutter. It's VERY sharp, so if you chose the Cab for your little rest break you might want to try walking a straight line and reciting the alphabet backwards before proceeding.) Now cut the number of 2 1/2" strips that you calculated while reading my previous post.


I probably didn't need to include this picture,
but it came out pretty nice so I figured "What the heck!"
And who knows, maybe some of you need help envisioning stitching along the line you drew...

5) Now it's back to the cutting mat. If you took another Cab break, you should probably wait until tomorrow to do this...If you're still hanging with your coffee or tea, align the 1/4" mark of your ruler with the line you just stitched and cut off the excess fabric (leaving all fingers intact and attached).
6) Next you'll need to head to the ironing board and iron that seam open before attaching your next piece and repeating the first 5 steps until you run out of 2 1/2" strips. (I'm not sure what happened to the picture for this step, but I was only drinking water when I did this, HONEST!) It's important to me mention that you need to make sure you continue adding strips with the right sides together. This may seem pretty obvious but if you look at the fabric I'm using you'll notice that there's no difference between the right and wrong side. I have gotten to the final pressing of the strip and discovered that I had seams on BOTH sides of my binding (enter the handy-dandy seam ripper).


8)The next step is to work your way down the entire length of the seemingly endless strip folding in half lengthwise and pressing it as you go. When you are done, you will have a long strip of about 1 1/4" width with one folded edge and one rough edge.

That's it for today. Come back tomorrow when I show you how to attach the binding to the quilt.
Cheers!
Nancy
Monday, September 19, 2011
How To, With a Twist
I have been doing some thinking and reading about how to add value to my blog. What can I offer to my readers that might actually benefit them beyond entertainment? (Although I do hope you will always be entertained when you stop by!) I have considered a give-away, and one is in fact coming but not until October 1 when I unveil some exciting news...(intrigued? I hope so!) So instead, I've decided to run a three part How To series. I know that many of you are creative people who can't help but try every new craft that even slightly interests you, and even if you don't necessarily want to try it yourself you're likely interested in how it's done anyway. You're what I like to call creatively curious. So without further ado:
How To Make French Fold Quilt Binding When Numerically Challenged and Highly Distractable
I absolutely love to tell people that I use only French Fold Binding on my handmade quilts. It sounds both classy and sexy at the same time. Plus, if you know quilting you know it's a durable and easy way to finish off a quilt. For quilting newbies, the binding is the fabric that encases the edges of the quilt. This is the part of the quilt that tends to wear out first (especially if it's a silky edge and you have a thumb-sucker) so it's important to use high quality fabric. I also see it as the frame of the quilt--what pulls it together and completes it visually.

To calculate (I know, I hate that word too) how much fabric I need I have found that it is best to simplify the process. We have a joke in my house: Mom's so bad a math she should get a handicapped parking permit. Here's what I do know: most fabric is 44" wide with a selvage at either edge. These selvages vary, as does my mathematical accuracy, plus I like to work with numbers that end in zero or five, so I assume I have 40" of usable fabric width. The other thing I know is that I will be cutting the fabric into 2 1/2" strips for my binding.
Now it's time to get out your measuring weapon of choice. For me, it depends on the size of the quilt, my mood, and what color I'm wearing. I either go with a tape measure or the grid on my rotary cutting mat. Do you remember the concept of perimeter from elementary school? You know, the distance around a shape...That's what you need to find out. This involves some adding, and if you're really ambitious, mulitplication. Or, you could do what I do: I know I need x number of 40" long strips...about how many do I need to cover this sucker? Again, there is a lot of rounding up or down so that I'm working with numbers ending in zero or five. For example, if I have a quilt that 52" x 70", I need 3 40" strips to cover the two 52" sides, and four 40" strips to cover the two 70" sides. That's 7 strips total. Multiple that by 2.5 (for the 2 1/2" per strip) and you need 17 1/2" of binding. I round up again to 2/3 of a yard, but this time it has nothing to do with bad math. You just never know how straight the fabric will be cut at the store, if it has a flaw you missed and have to work around, or when your ruler is going to slip while cutting the strips. It's always nice to have a little extra...
And here's a little bonus tip: When I have a little leftover fabric I go ahead and cut it into 2 1/2" strips anyway and toss them into a bin I keep for just that pupose. When I have enough strips stashed away, I make a quilt something like this:

This one was a gift to someone very dear to me, but I'm sure there will be similar ones in my future so stop by the shop and take a look around...
Don't forget to come back tomorrow when we turn this fabric into one heck of long strip of binding...
How To Make French Fold Quilt Binding When Numerically Challenged and Highly Distractable
I absolutely love to tell people that I use only French Fold Binding on my handmade quilts. It sounds both classy and sexy at the same time. Plus, if you know quilting you know it's a durable and easy way to finish off a quilt. For quilting newbies, the binding is the fabric that encases the edges of the quilt. This is the part of the quilt that tends to wear out first (especially if it's a silky edge and you have a thumb-sucker) so it's important to use high quality fabric. I also see it as the frame of the quilt--what pulls it together and completes it visually.

To calculate (I know, I hate that word too) how much fabric I need I have found that it is best to simplify the process. We have a joke in my house: Mom's so bad a math she should get a handicapped parking permit. Here's what I do know: most fabric is 44" wide with a selvage at either edge. These selvages vary, as does my mathematical accuracy, plus I like to work with numbers that end in zero or five, so I assume I have 40" of usable fabric width. The other thing I know is that I will be cutting the fabric into 2 1/2" strips for my binding.
Now it's time to get out your measuring weapon of choice. For me, it depends on the size of the quilt, my mood, and what color I'm wearing. I either go with a tape measure or the grid on my rotary cutting mat. Do you remember the concept of perimeter from elementary school? You know, the distance around a shape...That's what you need to find out. This involves some adding, and if you're really ambitious, mulitplication. Or, you could do what I do: I know I need x number of 40" long strips...about how many do I need to cover this sucker? Again, there is a lot of rounding up or down so that I'm working with numbers ending in zero or five. For example, if I have a quilt that 52" x 70", I need 3 40" strips to cover the two 52" sides, and four 40" strips to cover the two 70" sides. That's 7 strips total. Multiple that by 2.5 (for the 2 1/2" per strip) and you need 17 1/2" of binding. I round up again to 2/3 of a yard, but this time it has nothing to do with bad math. You just never know how straight the fabric will be cut at the store, if it has a flaw you missed and have to work around, or when your ruler is going to slip while cutting the strips. It's always nice to have a little extra...
And here's a little bonus tip: When I have a little leftover fabric I go ahead and cut it into 2 1/2" strips anyway and toss them into a bin I keep for just that pupose. When I have enough strips stashed away, I make a quilt something like this:
This one was a gift to someone very dear to me, but I'm sure there will be similar ones in my future so stop by the shop and take a look around...
Don't forget to come back tomorrow when we turn this fabric into one heck of long strip of binding...
Saturday, September 17, 2011
Dear Blog
Dear Blog,
I wanted to take a quick moment this evening to apologize for neglecting you. We have become such good friends over these past few months, so I would imagine it's rather confusing when I just up and abandon you for a few days. You see, lately I've been spending so much time with you that I've been remiss in tending to a few tasks.
Yesterday as the sun was shining encouragingly through the big window in my foyer a beam happened to land in a particular corner and you wouldn't believe what I saw...you've heard of dust bunnies? Forget about those. I had dust dinosaurs! Fortunately they were of the plant eating variety, but if left for much longer it's anyone's guess what they would've evolved into.

I don't know about you Blog, but cleaning tends to make me hungry so my next stop was the fridge. Man it's bright in there when all those glass shelves are empty! Next stop: the pantry. More dust dinosaurs. Needless to say, more cleaning ensued, immediately followed by grocery shopping on an empty stomach (never a good idea). Lucky me though! I got out with only one cart this time! A few things fell off in the parking lot, but nothing I couldn't salvage. You know Blog, I always leave the store after a big shopping trip with a sense of accomplishment. That lasts until I get home and realize I have to unload, put away, prepare and clean up after all of that food I just purchased, not to mention playing pantry police so my hungry family doesn't eat all their favorites the first weekend.
Then Blog, there's next weekend's craft show in Wenonah to prepare for. As much as I love spending time with you, I can only spend so much time writing about all the things that need to be done. Eventually, I have to step away from the keyboard and actually DO things!
Now it's Saturday night Blog, and I am more than ready to kick back with a glass of Cabernet and a good book, but I couldn't do so without first letting you know that I haven't forgotten about you (or those who might stop by to visit you). Sleep well and don't forget, tomorrow's Sunday. It's ok to take the day off. I mean, God did!
Love,
Nancy
Thursday, September 15, 2011
Treasury Thursday
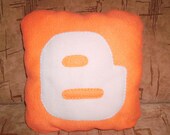
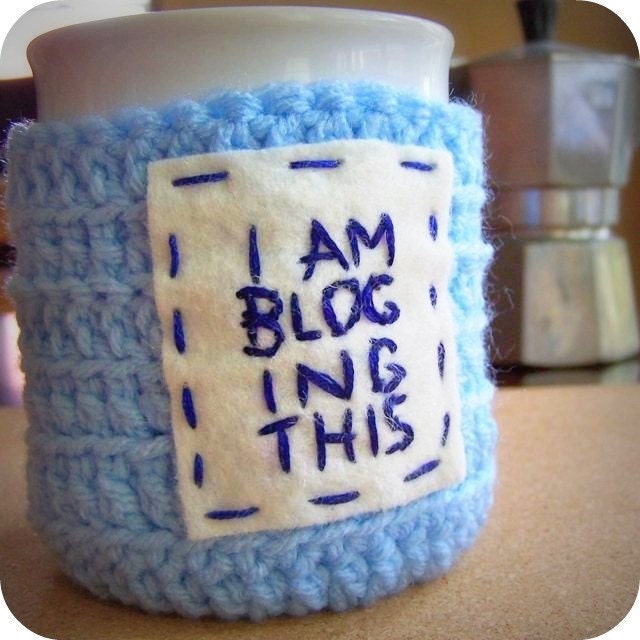
'Blogworthy' by ScrappyTudeStudios
I had way too much fun putting this treasury together! For all my friends at EBT, and beyond... :)
 I Love You Blogs an... $13.50 |
 Dr Horrible's S... $6.00 |
 Keep Calm and BLOG ... $10.95 |
 My Analog Blog - wo... $12.00 |
 BLOGGING Print Art ... $19.00 |
 I Blog Scrabble Til... $7.95 |
 meerkat computer ge... $38.00 |
 Decorative Pillows ... $17.00 |
 you would blog too ... $12.00 |
 please refer to my ... $3.75 |
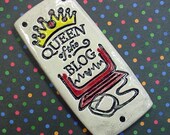 Queen of the Blog B... $10.00 |
 Funny Coffee Mug Te... $15.00 |
 King Kong Blogs - 1... $30.00 |
 MESSAGE BROOCH - Do... $22.50 |
 Read My Blog Recycl... $30.00 |
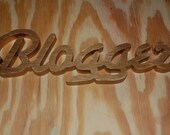 Recycled plywood si... $30.00 |
Subscribe to:
Posts (Atom)